You can install the platform from AWS Marketplace (as defined in STEP 1) OR using the provided cloudformation template (.yml file). The stack will take around 4 minutes to get created in your AWS Account & once it's been created, follow the steps below.
From the newly created AWS CloudFormation stack, select the 'Outputs' Tab and click on the link shown next to 'EC2InstancePublicURL' (see screenshot below) to open the Installation Wizard. Please Note: You can access the Installation Wizard & the Platform's Cost Control Settings using this link in the future, using the Master Admin credentials that will get generated as per below steps.

Then follow the steps below to finalise the platform installation:
STEP 1 - Create Master Admin account for your instance

> Company / Brand Name: This will be used by the platform as your ${BrandName} [Token] in all externally facing communication. The Brand Name used should align with the Naming of your Retail Stores/Branches on Google Maps.
> Master Admin Email address: Platform Installation status emails will be sent to this email address & it will also be used as the Master Admin account for the platform moving forward.
> Master Admin Password: provide a basic password. This password will be used to login to the Installation Wizard & also to manage advanced cost control settings (when the platform is up & running). Once the platform installation is complete & the DNS has been set-up, you will be prompted to update this password on first login (you can use the same password again for this).
> Accept Platform Ts&Cs & select 'Create Master Account'
STEP 2 - Login to the Installation Wizard using Master Admin Account (you just created)
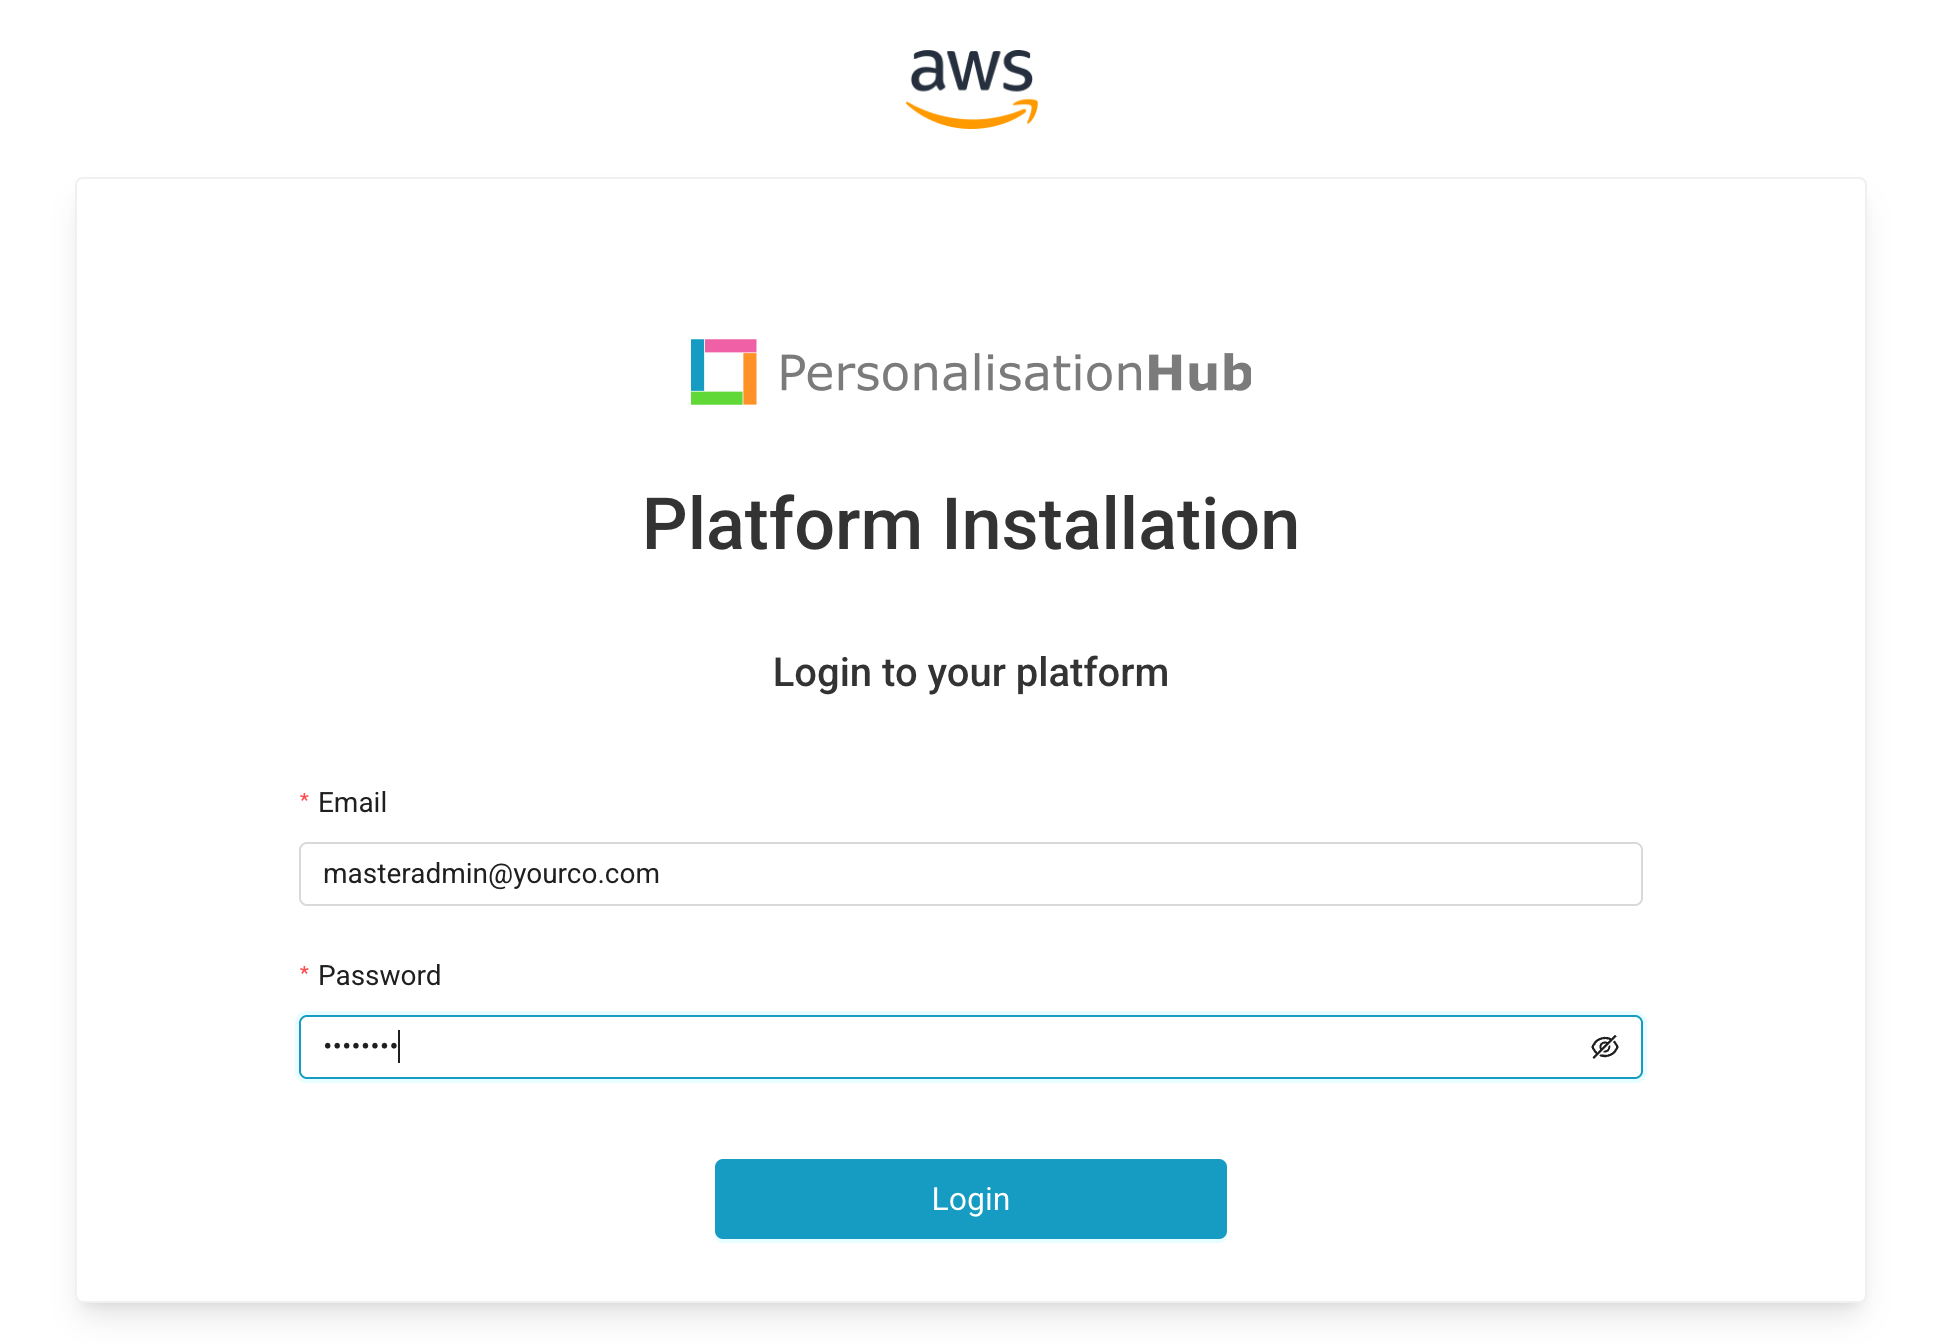
> Enter Master Admin Email address (as defined in step 1 above)
> Enter Master Admin Password (as defined in step 1 above)
> Select 'Login'
STEP 3 - Define Environment Type/Size, Platform Domain & Add your organisation's Google Maps Key

> Environment Type: Select whether this will be a Development, Staging or Production instance of the platform. You can update this at anytime, however it does also determine the instance sizes that get used.
> Environment Size: Once you've selected your Environment Type you can also manage the instance size that gets used. We recommend selecting 'Low' initially as you can easily increase the instance size later (via the Platform's Cost Control Settings).
> Platform Domain: To connect mobile-app/website journey in retail/branch, you need to ensure that the platform runs on your organisation's primary domain (e.g. ph.{yourprimarydomain}.com). This will ensure that you can leverage 1st party data/cookies across all touch-points. Once the Platform Domain/URL has been defined, this can not be changed.
> Google Maps API Key: To add Stores/Locations/Addresses to the platform, you need to be able to connect with the Google Places API. Your Google Maps API key is required for this.
> Select 'Install Platform'
STEP 4 - Platform Installation (Typically takes around 55 minutes & the Master Admin will receive an email when the installation is complete)

> Master Admin will receive an Email once the Platform has been installed the title of the email is 'Personalisation Hub - Installation Complete > Next Step: DNS Set-Up' >>> Forward this email to your webmaster.
> DNS Set-up: Two New CNAME records need to be created for your newly installed instance. All the details (required by your webmaster) are included in the above email. Please Note: DNS Setup must be done within 3 days as the Certificate issued by AWS only lasts for 3 days.
STEP 5 - DNS Set-Up - Forward DNS Set-Up email to your company's webmaster

> DNS Set-Up Details: The following page also contains the details required by your webmaster to setup your DNS records (two new CNAME records are required).
> AWS Certificate Expiry > Countdown Timer: You will see a countdown timer showing the time until the Certificate issued by AWS will expire. You need to ensure that the DNS is set-up before the certificate expires. If the DNS is not setup in time, a new certificate will need to be generated & the corresponding DNS records will need to be updated.
> Select 'Verify Domain' once the DNS Records have been setup to see if they've propagated.
STEP 6 - DNS Settings have Propagated (timing depends on your DNS Provider)

You will automatically be directed to the below page

> Master Admin will receive an Email once DNS has been setup: Once the New DNS Settings have propagated, you'll receive a 2nd email with the title 'Personalisation Hub DNS has been set up > Final Step: Login & Add Users'.
> Cost Control Settings Page: The Installation Wizard will direct you to a page that allows you to control your cloud costs. This page can be accessed from the Outputs tab of the respective the cloudformation stack. Environment Scale Up/Down and Hibernation settings have been specifically created for Development & Staging instances of the platform, so that you can hibernate/scale these environments down when they are not been used.
> Click on 'Login to Personalisation Hub' CTA: You will be taken to HQ Admin Login page.
STEP 7 - Login to your instance of Personalisation Hub (using your master admin account)

> Email: Enter Master Admin Email address (as defined in step 1 above)
> Password: Enter Master Admin Password (as defined in step 1 above)
> Update Password: On First Login, you will be prompted to Update your password. As this is the Master Admin account for the Platform, please ensure that you create a very secure password.
NEXT STEP: FIRST TIME PLATFORM LOGIN
Was this article helpful?
That’s Great!
Thank you for your feedback
Sorry! We couldn't be helpful
Thank you for your feedback
Feedback sent
We appreciate your effort and will try to fix the article